Knowing how to style a small apartment balcony in Sri Lanka means working with the climate, not against it. A six-by-eight-foot slab facing west in Colombo 3 is a completely different challenge from a Pinterest board, and getting it right takes local knowledge, not imported ideas.
Why Small Balconies in Sri Lankan Apartments Are Worth Styling
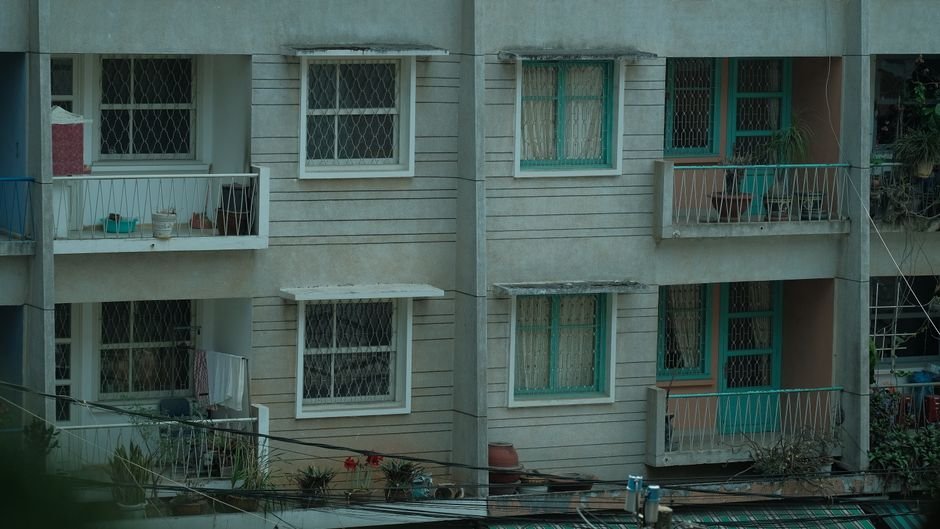
Most apartment balconies in Colombo, Nugegoda, and Kandy sit completely unused. A plastic chair, maybe a drying rack, and a lot of dust. That is a genuine waste, because even a 12-square-foot balcony can give you a morning coffee spot, an evening wind-down area, or a green wall that makes the whole apartment feel bigger and calmer.
Urban apartments are getting smaller, and outdoor square footage is genuinely precious. Treating your balcony as an extension of your living space rather than a utility room changes how the whole apartment feels to live in. The good news is that a meaningful transformation does not require a major budget or a contractor.
Step 1: Assess Your Balcony, Size, Sun Direction, and Monsoon Exposure
Before you buy anything, spend two days observing the space. Note when direct sun hits it and for how long. A south-west facing balcony in Colombo gets brutal afternoon sun from about 1pm to 5pm. A north-facing one stays shady and cooler but can feel damp during the south-west monsoon (May to September). These facts decide every material and layout choice you will make.
Measure the floor area accurately. Most Colombo apartment balconies fall between 10 and 20 square feet. With under 15 square feet, you are working with one small seating unit, one or two plant stands, and nothing else. Accept the constraint early and design within it, rather than cramming in furniture that blocks the door.
Also check the parapet wall height and whether your building has a no-drill policy (common in managed condominiums). This affects what shade and privacy solutions are available to you.
Step 2: Choose the Right Flooring for Sri Lanka’s Climate
The original balcony screed or cement tile is almost always ugly and often slippery when wet. Your three realistic options are anti-slip ceramic tiles, interlocking deck tiles, or coir or synthetic matting.
Anti-slip ceramic tiles from shops in Panchikawatta or Keells Builder start around Rs. 180 to Rs. 280 per square foot. They handle rain well and are easy to mop. Choose a matt finish in a terracotta or warm grey tone to avoid the institutional look. If you are a renter, interlocking deck tiles (available through Ikman.lk listings and some hardware stores in Nugegoda) sit over the existing floor without adhesive, cost roughly Rs. 350 to Rs. 500 per square foot, and can be taken with you when you move.
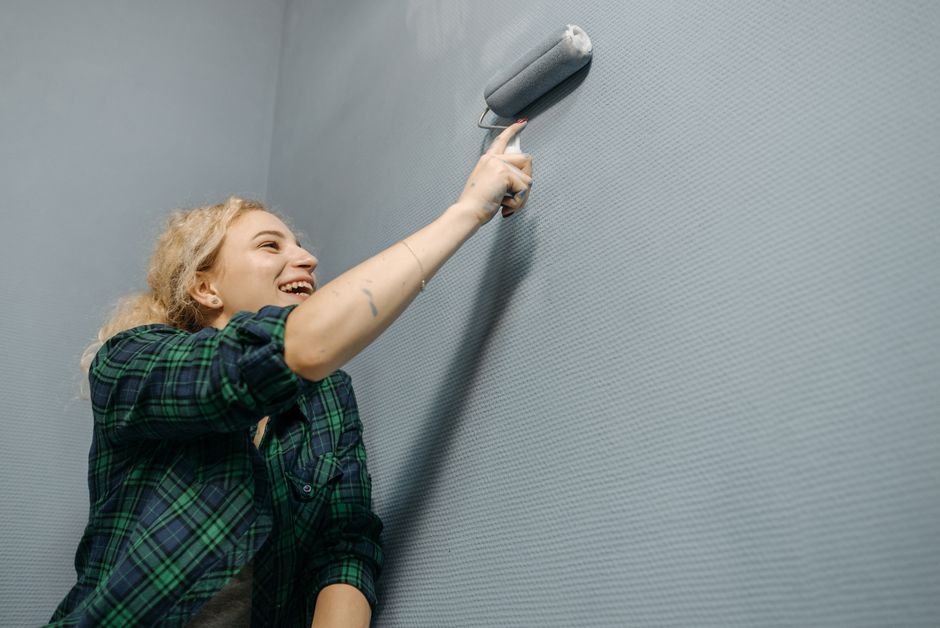
Coir matting looks beautiful for about three months, then degrades in monsoon humidity. Stick to outdoor-rated synthetic matting if you want the look without the rot. For any balcony wall repaints, check the guide on choosing the right exterior-grade paint finish for balcony walls before you pick a product, as interior emulsion will peel within one wet season.
Step 3: Pick Furniture That Survives Heat and Humidity
This is where most people go wrong. Untreated timber warps. Cheap powder-coated metal from low-end suppliers rusts through within 18 months in the salt-heavy air near the coast. MDF is basically compost in a monsoon.
The three materials that genuinely work are natural rattan with a proper lacquer seal, powder-coated aluminium or steel from a reputable fabricator, and high-density resin (HDPE) furniture. Local rattan craftsmen in Pettah and around the Maradana area make compact two-seater benches and single chairs for Rs. 8,000 to Rs. 20,000, and with annual re-lacquering they last years. Ask specifically for outdoor-grade lacquer treatment.
Resin wicker furniture imported or sold through Ikman.lk dealers sits in a higher price bracket (Rs. 25,000 to Rs. 60,000 for a small set) but is genuinely zero-maintenance. For a tight space, a foldable aluminium bistro set is often the smartest choice. It can be stored flat inside during heavy monsoon weeks and costs Rs. 12,000 to Rs. 25,000 from fabricators in the Wellawatte or Panchikawatta industrial areas.
Step 4: Add Shade and Privacy Without Losing the Breeze
Shade is non-negotiable on any balcony that gets afternoon sun. A retractable canvas awning fixed to the ceiling slab is the most effective solution and costs Rs. 15,000 to Rs. 35,000 installed, depending on width. If your building prohibits permanent fixtures, a freestanding parasol with a heavy base works on larger balconies, though it is awkward on anything under 12 square feet.
For privacy from neighbouring buildings (a real concern in high-density areas like Rajagiriya or Dehiwela), bamboo roll blinds are cheap (Rs. 2,500 to Rs. 6,000 per panel) and allow air movement. Fix them to the parapet or ceiling edge with hook-and-eye fittings rather than drilling if your lease demands it. Laser-cut aluminium lattice panels are a more durable and modern alternative, fabricated locally for around Rs. 4,500 to Rs. 9,000 per square foot.
Climbing plants on a simple wire trellis are the most climate-appropriate solution of all. A Thunbergia grandiflora (blue trumpet vine) or Rangoon creeper grows quickly, handles Sri Lankan heat, and provides genuine shade within one season.
Step 5: Bring in Greenery the Sri Lankan Way
How to style a small apartment balcony in Sri Lanka would be incomplete advice without talking about plants, because this is genuinely where the local climate works in your favour. Sri Lanka’s humidity and warmth mean plants thrive here with minimal intervention, but the wrong choices in pots dry out fast or rot in standing water.
Stick to plants that tolerate both full sun and occasional waterlogging. Snake plants (Sansevieria), spider plants, portulaca, bougainvillea in pots, and dwarf heliconias are all excellent. A single bougainvillea trained up a trellis or wire on the parapet wall can transform the whole balcony appearance within a season.
Use terracotta pots for their breathability, but seal the inside with bitumen paint or pot sealant to slow moisture loss. Lightweight concrete or fibreglass pots from Nursery row in Duplication Road or Nawala are worth considering for upper floors where weight matters. Avoid large ceramic glazed pots in fully exposed positions as they crack in intense sun. For sustainable and eco-conscious material choices, look at locally made terracotta and upcycled timber planters rather than imported plastic options.
Step 6: Lighting and Finishing Touches for Evening Use
Evening is often the best time to use a balcony in Sri Lanka, when the heat drops and there is a breeze. Lighting makes or breaks the atmosphere. Solar fairy lights (available widely on Ikman and in Pettah electronics shops) need no wiring and cost Rs. 1,500 to Rs. 4,000 for a decent string. They charge through the day and give three to five hours of soft light.
A small outdoor-rated wall lamp or a plug-in lantern near the door adds warmth and practical visibility. Avoid candles unsupervised outdoors; the wind on high floors extinguishes them immediately anyway. A single small side table, a waterproof outdoor cushion (polyester fill in a quick-dry cover), and a couple of plants at different heights complete the picture without cluttering the floor.
How Much Does Balcony Styling Cost in Sri Lanka?
A realistic rupee breakdown across three tiers:
- Budget tier (Rs. 15,000 to Rs. 35,000): Interlocking deck tiles, two plants in terracotta pots, a secondhand rattan chair from Ikman, bamboo roll blind, solar fairy lights.
- Mid-range tier (Rs. 40,000 to Rs. 90,000): Anti-slip ceramic tile flooring, a fabricated foldable aluminium bistro set, canvas awning, three to five plants with proper pots, outdoor cushions, wall lamp.
- Full transformation (Rs. 100,000 and above): Custom aluminium lattice privacy screen, professional tiling, quality resin wicker seating, retractable awning, mixed planting with irrigation drip line, mood lighting.
If you are unsure where to trim and where to spend, the guide on how to prioritise your renovation spending in Sri Lanka will help you make those calls without regret.
Common Mistakes Sri Lankan Apartment Owners Make on Balconies
Buying cheap powder-coated furniture from generic hardware stores is the single most common error. It looks fine at purchase and is corroded within two monsoons. Another frequent mistake is over-planting a small space so the floor becomes impassable and plants block each other’s light. Three well-chosen plants beat twelve struggling ones.
Ignoring drainage is also a problem. If your balcony floor has poor falls toward the drain, potted plants will sit in stagnant water after heavy rain, and your furniture legs will rot or rust from below. Check the drain is clear before you begin styling, and ensure all pots have drainage holes with saucers you can empty.
Finally, using interior-grade paint on balcony walls is a mistake that shows within months. Exterior-grade masonry paint or a weathershield product is the only sensible choice.
When to Call a Professional Interior Designer
Most balcony styling is genuinely DIY-able with a modest budget and an afternoon of effort. But if your balcony has structural issues, if you want custom fabricated elements like built-in seating or a pergola, or if you are styling a penthouse or commercial apartment for rental yield, professional input pays for itself quickly.
A good designer who knows Sri Lanka’s material supply chains, local fabricators, and the specific conditions of Colombo or Kandy apartments will save you money on poor material choices and wasted purchases. If any part of this guide has felt overwhelming, or if you simply want the result to look genuinely polished rather than assembled, exploring professional interior design in Sri Lanka is a completely sensible next step. No harm in a consultation.
FAQ
What furniture materials work best on a Sri Lankan apartment balcony in the rainy season?
Natural rattan with outdoor lacquer, powder-coated aluminium, and high-density resin (HDPE) wicker all perform well through the Sri Lankan monsoon. Avoid untreated timber, MDF, and cheap powder-coated steel, which rust or warp within one or two wet seasons. Foldable aluminium bistro sets are particularly practical as they can be moved indoors during heavy rain weeks.
How do I add privacy to my balcony without blocking airflow in a hot climate?
Bamboo roll blinds are the most affordable option and allow air to pass through. Laser-cut aluminium lattice panels offer a more durable, permanent solution. Climbing plants on a wire trellis (such as Rangoon creeper or Thunbergia) provide natural privacy that also shades the space without stopping airflow. Avoid solid perspex or glass panels, which trap heat and kill the breeze entirely.
What are the best low-maintenance plants for a small balcony in Sri Lanka?
Snake plants (Sansevieria), portulaca, bougainvillea, spider plants, and dwarf heliconias all thrive in Sri Lanka’s heat and humidity with minimal care. Bougainvillea in particular rewards apartment balcony conditions by blooming vigorously in the dry season. Keep to three to five plants in well-draining terracotta pots and avoid overcrowding, which leads to poor air circulation and root rot.